Cocos2d-x basics
Some articles about Cocos2d-x framework
First steps
Cocos2d is an open source software framework. It can be used to build games, apps and other cross platform GUI based interactive programs. It has a lot of branches, but this tutorial series will focus on C++ and Cocos2d-x.

A game Battle of Pathogens developed with Cocos Creator
Installation
Installation process is more or less described in the official documentation so there should not be any problems. Also there are good instructions in this blog for Linux or here for Windows, or here for iOS.
Now there are two versions of framework: 3.17 and 4.0. Both are good, and differences are not so significant.
On Linux you’ll have to perform two steps:
- install all the stuff needed for C++ development (g++), also cmake and python. You’ll also need Android Studio if you want to create Android apps.
- dowload the framework, unpack it wherever you want and set sum environment variables.
Finally you should be able to enter cocos command in command line
::>cocos -v
cocos2d-x-4.0
Cocos Console 2.3
On Windows it’s more or less the same. First you install cmake and python and then Visual Studio Community.
First project
In order to check that everynting was installed properly you’ll have to create and build the first project.
Projects are created with cocos new command:
::>cocos new -d ./ -l cpp SmokeTest
> Copy template into /home/username/proj/cocos2d/SmokeTest
> Copying Cocos2d-x files...
> Rename project name from 'HelloCpp' to 'SmokeTest'
> Replace the project name from 'HelloCpp' to 'SmokeTest'
> Replace the project package name from 'org.cocos2dx.hellocpp' to 'org.cocos2dx.SmokeTest'
> Replace the Mac bundle id from 'org.cocos2dx.hellocpp' to 'org.cocos2dx.SmokeTest'
> Replace the iOS bundle id from 'org.cocos2dx.hellocpp' to 'org.cocos2dx.SmokeTest'
Obviously -l cpp specifies that we’ll use C++. The cocos new --help will print help on all available options.
Here “SmokeTest” is the name of the project. The cocos script will create a folder with this name and will generate all initial files there.
Linux compilation
Things ill be a way simpler on Linux. To compile you’ll have to enter command cocos compile -p linux and it will show you a typical cmake output
Windows compilation
Windows compilation depends on framework version. For 3.17.2 it will create a SmokeTest\proj.win32\SmokeTest.sln file and you’ll just open it with Visual Studio.
However it’s more complicated with 4.0 framework. First you’ll have to create build directory and get there like
mkdir build_win && cd build_win
Now perform following
cmake .. -G"Visual Studio 16 2019" -A Win32
This command asks cmake to use Visual Studio to generate it’s project file. This particula command tries to call VS 2019. There are other strings for older VS versions. “Win32 is the architecture and as for not it’s the only option available for cocos.
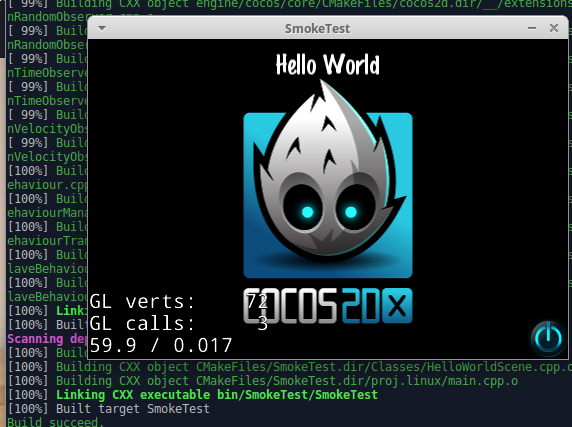
Result
Anyway you can launch your progma with cocos run command: